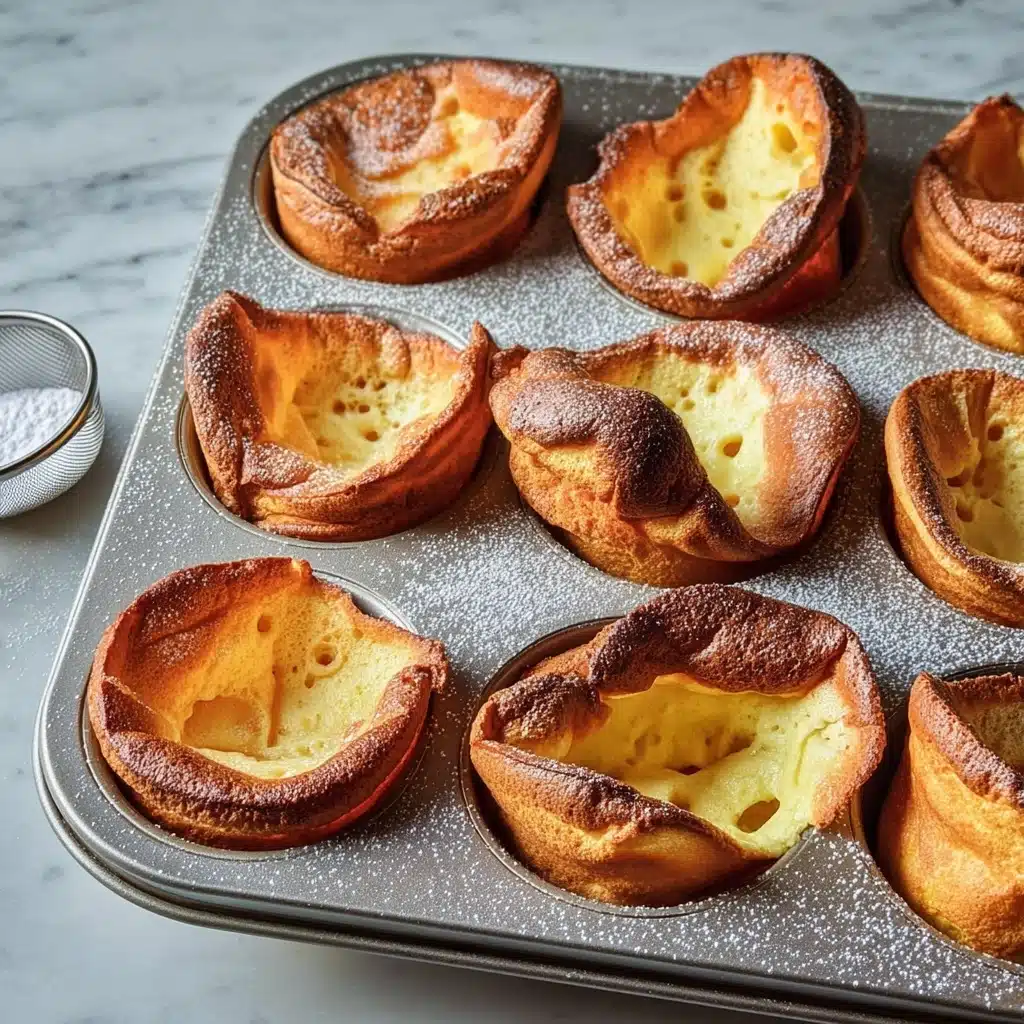
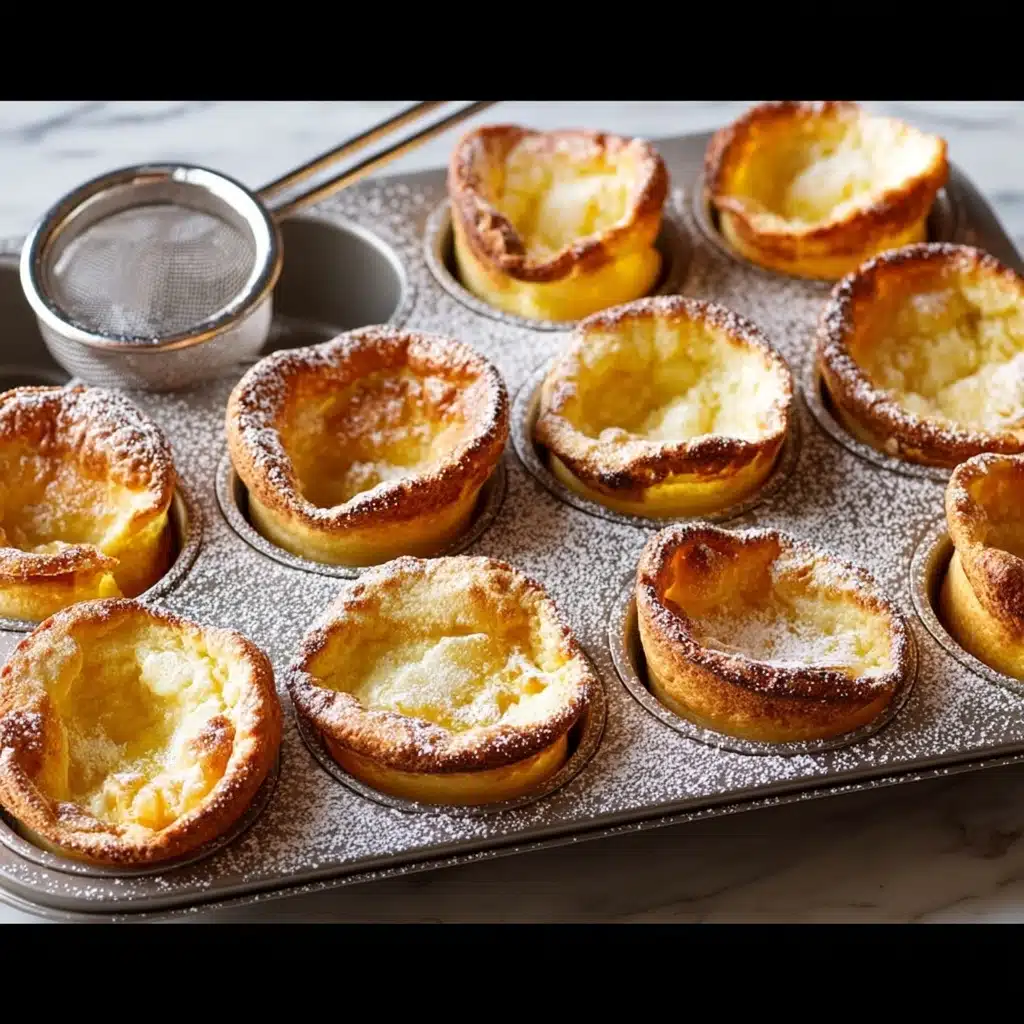
Mini Dutch Baby Pancakes Recipe
If you’re craving a breakfast treat that looks like a whimsy puff of golden cloud yet feels satisfyingly indulgent, these Mini Dutch Baby Pancakes might just become your new favorite recipe. Perfectly crisp along the edges and tender in the center, Mini Dutch Baby Pancakes bring breakfast magic straight to your kitchen with their effortless batter and impressive puff. They’re the perfect little bites to brighten your morning or dazzle your brunch guests — and trust me, once you try these, you’ll want to make them again and again.
Ingredients You’ll Need
Simple ingredients make the best dishes, and this recipe for Mini Dutch Baby Pancakes is no exception. Each component plays a crucial role in balancing flavor, texture, and that signature puff.
- 1 cup all-purpose flour: Provides the structure and a tender crumb essential for the pancake’s rise.
- 1 cup whole or 2% milk: Adds creaminess and moisture, keeping the batter smooth and light.
- 4 large eggs: The secret to those gorgeous rises and custardy centers, eggs are the star of the show here.
- 1/4 cup granulated sugar: Offers a touch of sweetness to balance the buttery richness.
- 1 teaspoon vanilla extract: Enhances the overall flavor with a warm, comforting note.
- 1/2 teaspoon kosher salt: Just enough to highlight the sweetness and deepen the flavor.
- 6 tablespoons unsalted butter: Melted into each pancake well, it makes the edges crisp perfectly golden and luscious.
- Powdered sugar or jam: For dusting or dolloping, adding the perfect finish and a burst of flavor.
How to Make Mini Dutch Baby Pancakes
Step 1: Prepare Your Oven and Muffin Pan
First things first, set your oven rack in the middle for even baking and preheat to a toasty 425ºF. A standard 12-well muffin pan will mimic the traditional Dutch baby’s shape but on a smaller, adorable scale. Letting the pan get piping hot is key for getting that perfect puff.
Step 2: Blend the Batter
Pop the flour, milk, eggs, sugar, vanilla, and salt into a blender or food processor and whirl for about a minute. The batter will be very fluid – thinner than you might expect for pancakes. This is exactly right because it creates the steam that helps those Mini Dutch Baby Pancakes rise beautifully. Let it rest for 10 minutes; this quiet time helps hydrate the flour and settle the batter.
Step 3: Butter Up the Muffin Wells
Carefully pull the hot muffin pan from the oven and immediately add a piece of butter to each well. The butter will start to melt, coating the edges and bottom, which is what lets your pancakes crisp up so perfectly without sticking. Make sure to handle the hot pan with care!
Step 4: Fill and Bake
Pour about 1/3 cup of batter into each butter-lined well. Don’t be concerned if the butter hasn’t melted completely – it will do so in the oven and create that luscious crust. Place the pan back in the oven and bake for 12 to 15 minutes until the mini Dutch babies puff up dramatically and get that gorgeous golden brown tint. It’s such a delight to watch them rise like little edible balloons.
Step 5: The Finishing Touch
Once out of the oven, let your Mini Dutch Baby Pancakes cool for just a minute so they settle slightly. The moment for garnishing is now! Dust with powdered sugar or add a spoonful of your favorite jam for a sweet spin. Serve warm for best flavor and texture.
How to Serve Mini Dutch Baby Pancakes
Garnishes
Keep it classic with a simple sprinkling of powdered sugar for an elegant look and light sweetness. Alternatively, a drizzle of maple syrup or a dollop of fresh fruit compote can add vibrant flavor and natural juiciness. Whipped cream or lemon curd also bring a lovely creamy or zesty contrast that elevates this dish.
Side Dishes
Because Mini Dutch Baby Pancakes are versatile, pair them with fresh berries for brightness or crispy bacon for a savory twist. A colorful fruit salad alongside or a rich cup of coffee will round out your breakfast or brunch in splendid style.
Creative Ways to Present
Arrange your Mini Dutch Baby Pancakes on a platter stacked like little crowns or serve them individually in muffin liners for a charming, grab-and-go breakfast. For a brunch party, offer various toppings on the side so everyone can customize their bite. These pancakes also work beautifully as a sweet base for a scoop of vanilla ice cream for an easy dessert.
Make Ahead and Storage
Storing Leftovers
If you’re lucky enough to have leftovers, place them in an airtight container and store in the refrigerator for up to two days. They will soften over time but still taste wonderful when reheated.
Freezing
You can freeze Mini Dutch Baby Pancakes by layering them between parchment paper in a freezer-safe bag. Freeze for up to one month. When you’re ready to enjoy, thaw in the refrigerator or at room temperature.
Reheating
The best way to bring these pancakes back to life is by warming them in a toaster oven or conventional oven set to 350ºF for about 5 to 7 minutes. This method crisps the edges back up and revives the fluffy interior. Avoid microwaving if possible, to keep their texture intact.
FAQs
Can I use gluten-free flour for Mini Dutch Baby Pancakes?
Yes! You can substitute a gluten-free all-purpose blend, but keep in mind that the texture might be slightly different and sometimes less puffy. Adding 1/4 teaspoon xanthan gum can help improve elasticity.
Is it necessary to use whole milk?
Whole milk adds richness, but you can use 2% milk with excellent results. Skim milk might make your pancakes a little less tender, so try to avoid it if possible.
Can Mini Dutch Baby Pancakes be made dairy-free?
Absolutely. Swap butter for a plant-based alternative and use almond, oat, or soy milk. The flavor will shift slightly, but you’ll still get an impressive puff and delicious taste.
Why do Mini Dutch Baby Pancakes puff up in the oven?
The combination of eggs, milk, and hot oven creates steam that causes the batter to rise dramatically. The butter in the pan helps them crisp while the steam ensures an airy interior.
What’s the best way to prevent the pancakes from sticking?
Make sure your muffin pan is very hot before adding the butter and batter. The hot pan and melted butter create a non-stick layer essential for perfect popping pancakes.
Final Thoughts
Mini Dutch Baby Pancakes are a delightful way to bring a touch of whimsy and elegance to your breakfast table without any fuss. Their impressive puff, buttery crisp edges, and tender centers make them a real crowd-pleaser. Whether you’re making a weekend brunch or a special holiday treat, give these little beauties a try — I guarantee they’ll become a beloved favorite in your recipe collection.
PrintMini Dutch Baby Pancakes Recipe

Mini Dutch Baby Pancakes are delightful individual-sized, fluffy oven-baked pancakes with a slightly crisp edge and tender center. Perfect for breakfast or brunch, these pancakes are easy to make, cooked in a hot muffin pan with butter, and served with powdered sugar or jam for a touch of sweetness.
- Prep Time: 15 minutes
- Cook Time: 15 minutes
- Total Time: 30 minutes
- Yield: 12 mini Dutch baby pancakes 1x
- Category: Breakfast, Brunch
- Method: Baking
- Cuisine: American
- Diet: Vegetarian
Ingredients
Batter Ingredients
- 1 cup all-purpose flour
- 1 cup whole or 2% milk
- 4 large eggs
- 1/4 cup granulated sugar
- 1 teaspoon vanilla extract
- 1/2 teaspoon kosher salt
For Cooking
- 6 tablespoons unsalted butter, cut into 12 pieces
To Serve
- Powdered sugar or jam, for serving
Instructions
- Preheat the Oven and Prepare Muffin Pan: Arrange a rack in the middle of the oven and remove any racks above it. Place a standard 12-well muffin pan on the rack, and heat the oven to 425ºF (220ºC) to get the pan thoroughly hot.
- Make the Batter: Combine 1 cup all-purpose flour, 1 cup whole or 2% milk, 4 large eggs, 1/4 cup granulated sugar, 1 teaspoon vanilla extract, and 1/2 teaspoon kosher salt in a blender or food processor fitted with a blade attachment. Blend for 1 minute until the mixture is very liquidy. Let the batter rest in the blender or processor for 10 minutes to develop texture.
- Prepare Butter: While the batter rests, cut 6 tablespoons unsalted butter into 12 small pieces, one for each muffin cup.
- Add Butter and Batter to Muffin Pan: Carefully remove the preheated muffin pan from the oven. Add one piece of butter to each well, allowing it to begin to melt with the residual heat. Pour about 1/3 cup of batter into each well, even if the butter is not completely melted.
- Bake the Mini Dutch Babies: Place the pan back into the oven and bake until the Dutch babies puff up dramatically and are lightly golden brown on top, about 12 to 15 minutes.
- Cool and Serve: Remove the mini Dutch babies from the oven and let them cool for 1 minute. Dust with powdered sugar or fill with your favorite jam before serving to add sweetness and extra flavor.
Notes
- Use a standard 12-well muffin pan to achieve the perfect size and shape for individual Dutch baby pancakes.
- Letting the batter rest helps improve texture and allows the flour to hydrate fully, producing lighter pancakes.
- The butter should be cut into small pieces to melt better inside each muffin cup, creating a crispy edge.
- If you prefer dairy-free options, substitute milk and butter with plant-based alternatives, but texture and flavor may vary.
- Serve immediately for best puffiness; these pancakes deflate as they cool.
- Try topping with fresh berries, maple syrup, lemon juice, or whipped cream for variations.
Nutrition
- Serving Size: 1 mini Dutch baby pancake
- Calories: 130
- Sugar: 4g
- Sodium: 150mg
- Fat: 7g
- Saturated Fat: 4g
- Unsaturated Fat: 3g
- Trans Fat: 0g
- Carbohydrates: 14g
- Fiber: 0.5g
- Protein: 4g
- Cholesterol: 95mg
Keywords: mini Dutch baby pancakes, oven baked pancakes, breakfast pancakes, individual pancakes, Dutch babies, easy pancake recipe