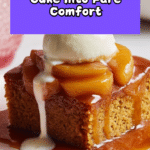
Apple Gooey Butter Cake Recipe
Introduction
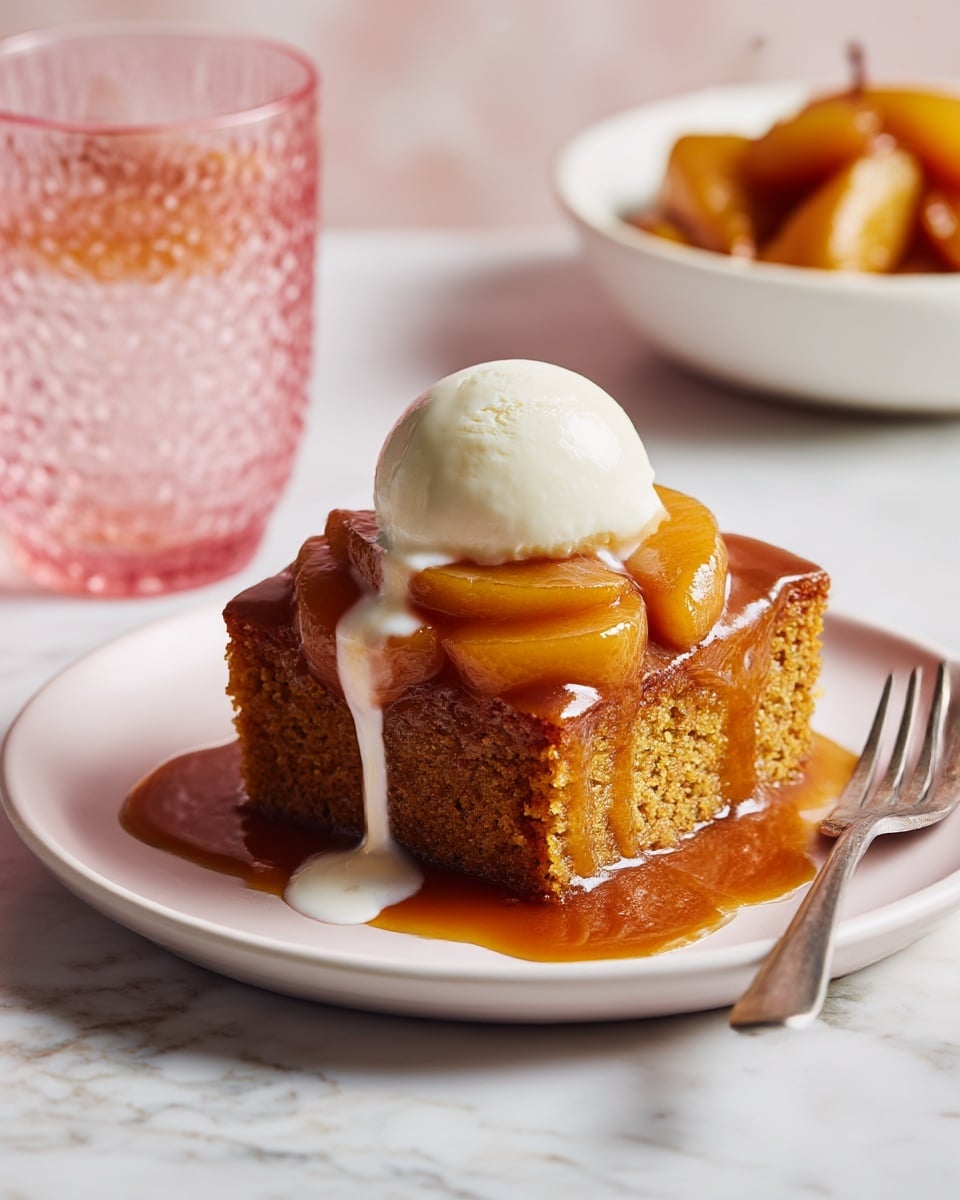
Apple Gooey Butter Cake is a deliciously rich and creamy dessert that combines a buttery yellow cake crust with a smooth cream cheese filling and tender cinnamon-spiced apples. It’s perfect for an indulgent treat any time of year, especially during the fall season.
Ingredients
- 1 box yellow cake mix
- 1/2 cup unsalted butter, melted
- 3 large eggs
- 8 oz cream cheese, softened
- 2 cups powdered sugar
- 2 cups apples, diced (Honeycrisp or Granny Smith recommended)
- 1/4 cup brown sugar
- 1/2 teaspoon ground cinnamon
- 1 teaspoon vanilla extract
- 1/8 teaspoon salt
Instructions
- Step 1: Preheat your oven to 350°F (175°C) and grease a 9×13-inch baking pan.
- Step 2: In a large bowl, mix the yellow cake mix, melted butter, and 1 egg until a soft dough forms.
- Step 3: Press the dough evenly into the prepared pan to form the crust layer.
- Step 4: In a separate bowl, beat the cream cheese until smooth.
- Step 5: Add 2 eggs and vanilla extract to the cream cheese and beat again until fluffy.
- Step 6: Slowly add the powdered sugar and mix until fully combined.
- Step 7: Pour the cream cheese mixture over the crust and spread evenly.
- Step 8: In a skillet over medium heat, cook the diced apples with brown sugar, cinnamon, and salt for about 5–7 minutes until slightly softened.
- Step 9: Spoon the apple mixture over the cream cheese layer.
- Step 10: Bake for 40–45 minutes until edges are set and the center is slightly jiggly.
- Step 11: Let cool completely before slicing.
- Step 12: Serve warm or at room temperature. Refrigerate leftovers up to 5 days.
Tips & Variations
- For extra flavor, sprinkle a little nutmeg with the cinnamon on the apples.
- Try using different apple varieties like Fuji or Braeburn for a sweeter or tarter taste.
- If you prefer a nutty texture, add chopped walnuts or pecans to the apple mixture.
- Make sure the cream cheese is softened for easier mixing and a smooth filling.
Storage
Store the cake in an airtight container in the refrigerator for up to 5 days. When ready to enjoy, let it come to room temperature or warm individual slices gently in the microwave for 15-20 seconds. This cake does not freeze well due to the cream cheese layer.
How to Serve
Serve this delicious recipe with your favorite sides.
FAQs
Can I use fresh apple pie filling instead of cooking apples?
While fresh cooked apples add the best texture and flavor, you can use canned apple pie filling as a shortcut. Drain any excess syrup to avoid making the cake soggy.
Is it necessary to use yellow cake mix, or can I use homemade cake batter?
You can substitute your favorite homemade yellow cake batter if you prefer, but using a box mix helps simplify the process and ensure consistent results.
PrintApple Gooey Butter Cake Recipe

Apple Gooey Butter Cake is a luscious dessert combining a buttery yellow cake crust with a creamy, sweetened cream cheese layer, topped with tender, cinnamon-spiced sautéed apples. This cake offers a delightful mix of textures and flavors, perfect for cozy gatherings or special occasions.
- Prep Time: 20 minutes
- Cook Time: 50 minutes
- Total Time: 1 hour 10 minutes
- Yield: 12 servings 1x
- Category: Dessert
- Method: Baking
- Cuisine: American
Ingredients
Crust
- 1 box yellow cake mix
- 1/2 cup unsalted butter, melted
- 1 large egg
Cream Cheese Layer
- 8 oz cream cheese, softened
- 2 large eggs
- 2 cups powdered sugar
- 1 teaspoon vanilla extract
Apple Topping
- 2 cups apples, diced (Honeycrisp or Granny Smith recommended)
- 1/4 cup brown sugar
- 1/2 teaspoon ground cinnamon
- 1/8 teaspoon salt
Instructions
- Preheat and Prepare Pan: Preheat your oven to 350°F (175°C) and grease a 9×13-inch baking pan to prevent sticking.
- Make Crust Dough: In a large bowl, combine the yellow cake mix, melted butter, and 1 egg. Mix until a soft dough forms, ensuring even blending of all ingredients.
- Press Crust: Press the dough evenly into the bottom of the prepared baking pan, forming a uniform layer to serve as the cake crust.
- Beat Cream Cheese: In a separate bowl, beat the softened cream cheese until smooth and creamy, removing any lumps for a silky texture.
- Add Eggs and Vanilla: Add 2 eggs and vanilla extract to the cream cheese and continue beating until the mixture becomes fluffy and well combined.
- Incorporate Powdered Sugar: Gradually add powdered sugar to the cream cheese mixture, mixing thoroughly to achieve a smooth, sweet filling.
- Spread Cream Cheese Layer: Pour the cream cheese mixture over the prepared crust in the pan and spread evenly to cover the entire surface.
- Sauté Apples: In a skillet over medium heat, cook the diced apples with brown sugar, cinnamon, and salt for about 5–7 minutes until the apples soften slightly and the sugar dissolves into a glaze.
- Add Apple Topping: Spoon the sautéed apple mixture evenly over the cream cheese layer, distributing the fruit to cover the surface uniformly.
- Bake Cake: Bake in the preheated oven for 40–45 minutes, until the edges are set and the center remains slightly jiggly, indicating gooeyness.
- Cool Cake: Allow the cake to cool completely in the pan on a wire rack to set properly before slicing.
- Serve and Store: Serve the cake warm or at room temperature. Store any leftovers refrigerated for up to 5 days to maintain freshness.
Notes
- Use firm apples such as Honeycrisp or Granny Smith for the best texture and tartness.
- Ensure the cream cheese is fully softened for easier mixing and a smoother filling.
- Do not overbake; the center should remain slightly jiggly to maintain the gooey texture.
- Let the cake cool completely before slicing to prevent it from falling apart.
- Leftover cake can be refrigerated in an airtight container for up to 5 days.
Keywords: Apple Gooey Butter Cake, apple dessert, cream cheese cake, autumn dessert, cinnamon apples, buttery cake